 Get Audio+
 Hot FM
 Fly FM
 Molek FM
A Guide To Making Voodoo Dolls By A Malaysian Hex Enthusiast
 Thirsty for JUICE content? Quench your cravings on our Instagram, TikTok and WhatsApp
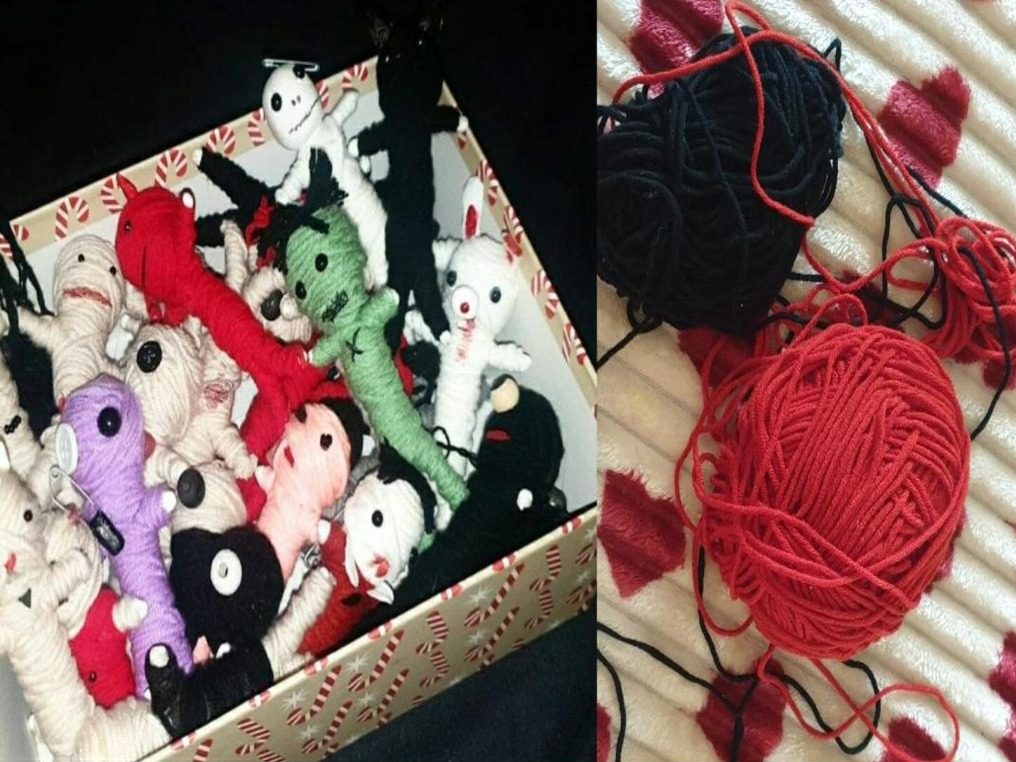
Since the 1700s, unreciprocated feelings and the thirst for revenge drove the practice of ‘voodoo dolls’ across Africa and the world.
Today, around 60 million pissed-off people keep up the tradition. In fact, the dolls have become more of a common decorative piece rather than a vengeful threat. A symbol of the past embedded in a plush toy, that can be abused therapeutically. Well, at least that’s how some of these doll-makers market them.
Instead of buying one online, I’m going to show you how to make a voodoo doll by hand. You’ll save moolah and it’ll be more legit.
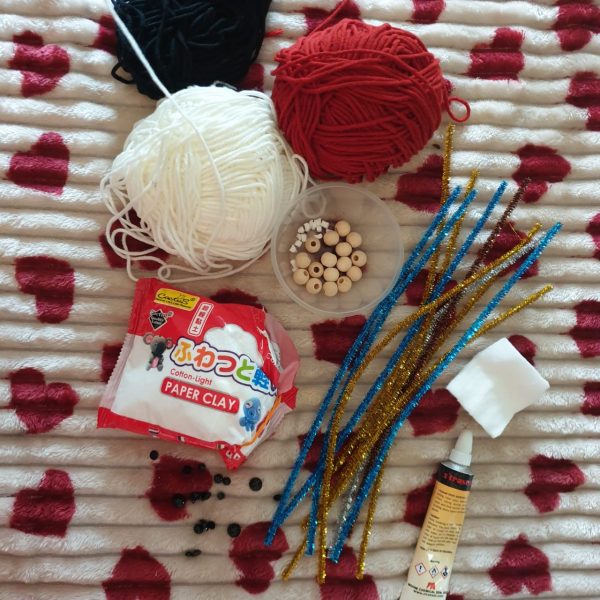
You will need: Yarn, pipe cleaners, cotton pads, quick-drying glue, paper clay, doll eyes (think buttons or beads, if traditional doll eyes don’t catch your fancy)
Optional: Blood (you can use fake blood ’cause just like hugs on your bday – it’s the thought that counts), needle and thread, safety pins. Any form of adornment you like, really.
DISCLAIMER: Voodoo is a sacred practice and religion. ‘Voodoo dolls’, as depicted in stereotypical pop culture, are only loosely based on a single aspect of the religion and do not accurately reflect on the religion itself. This article is based on the ‘voodoo dolls’ that are widely available on shopping networks.
The Body
For a sturdy spine and limbs, the inside of the doll should be made of something wire-like and bendable. I’d recommend a pipe cleaner. The less furry, the better. Unless you like furry bones. Totally not judging.
Fold the pipe cleaner into half, and pull out even lengths of it at the bottom. These are the legs. Bend into place.
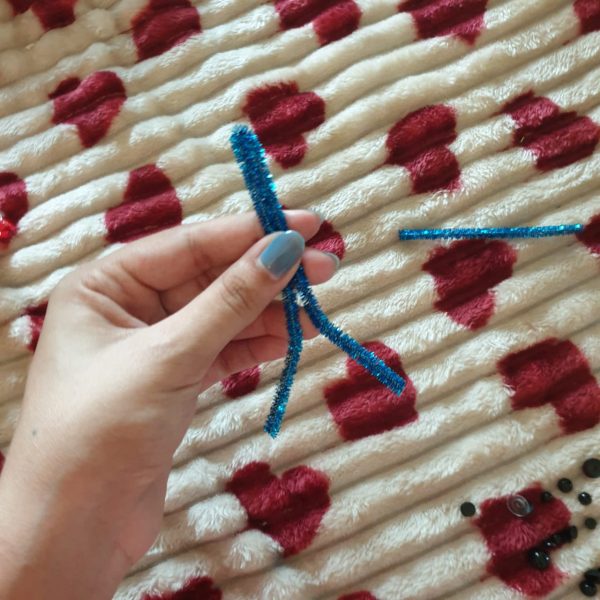
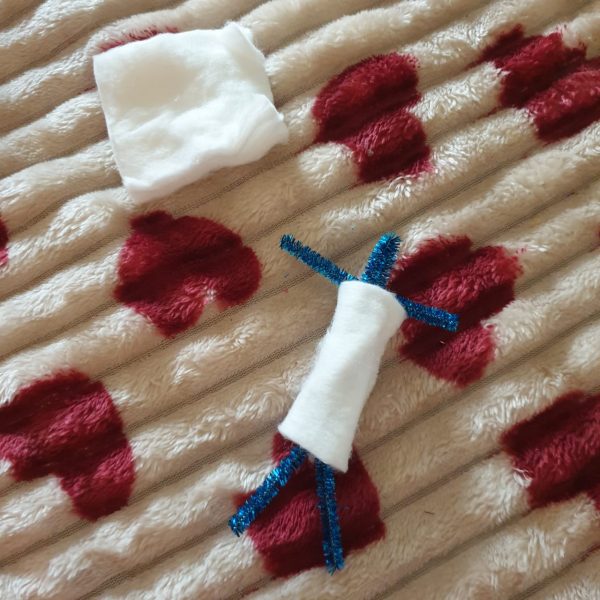
Then use a shorter length of the pipe cleaner the glue onto the back of the spine – these will be the arms. Make sure to leave a little space on top. Most people enjoy having necks.
Then fold a cotton pad (or two – go ahead and stuff them up, you glutton) around the diameter of the backbone.
The Skull and Appendages
Roll four small mounds of paper clay to be attached to the hands and feet. This will keep your doll looking neat. Then, roll a bigger ball of your desired size – this is the head. It needs to be hollow so the spine can fit into it. Poke a hole halfway into the bottom of the head. Make sure not to impale it just yet.
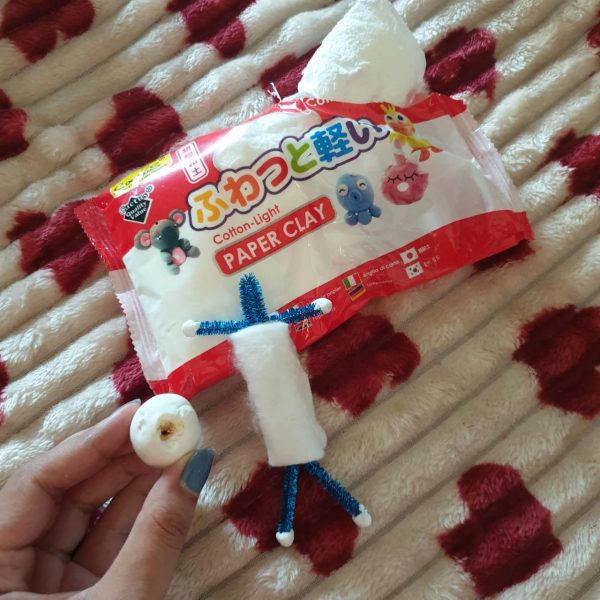
Pour glue into the tiny hole, not letting it overflow. Slide the spine into it while it’s still wet. Then give it a moment to dry.
Dressing!
Okay, let’s cover up a little.
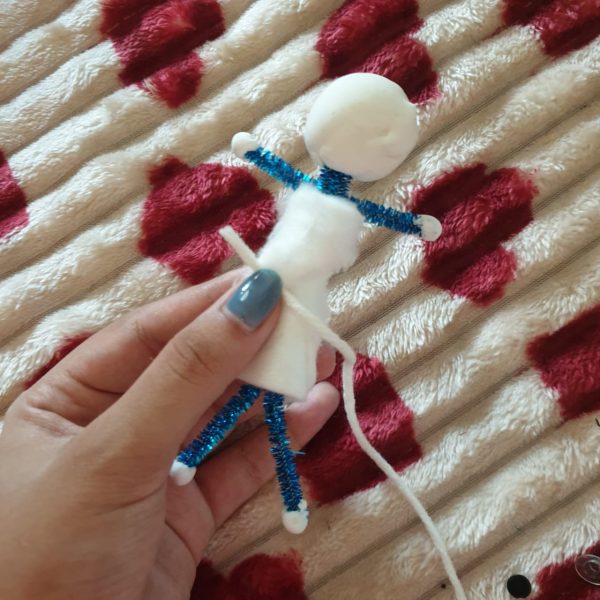
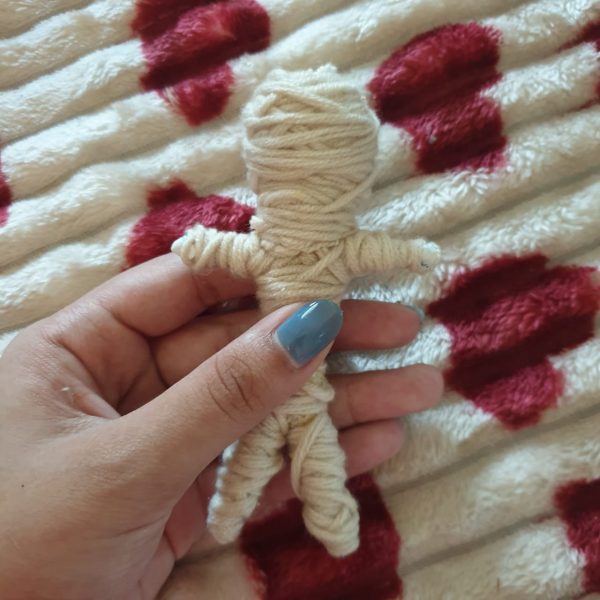
Grab yarn in your preferred colour, and begin tightly winding it around the doll. I recommend starting from the middle, so that the stray starting piece can easily be blended into the rest of the yarn as you go over it again and again. Swift, smooth movements usually offer the best results. Note: it’s best to have some sort of vision for your doll’s appearance before getting to this point.
Criss-cross around the arms, neck and between the legs for a firmer fit. Go over the limbs repeatedly until you’re satisfied with the size of them. Try not to cut the yarn just yet.
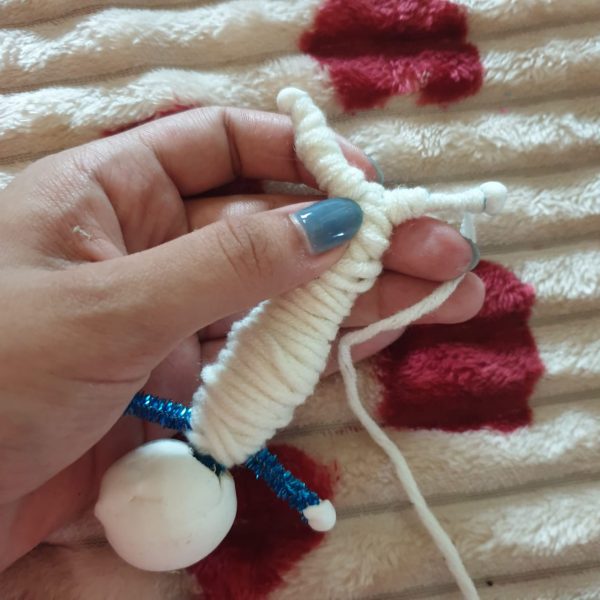
The head should have dried by now, so you can go ahead and yarn it up too if it’s feeling stable. Once you’re done, cut the yarn, apply a very small amount of adhesive onto the end and seamlessly tuck it into one of the folds.
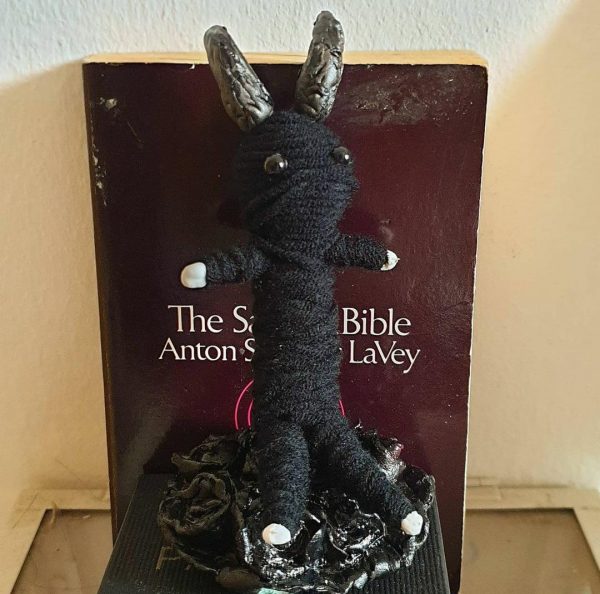
This step isn’t necessary for some dolls, namely those with skull heads such as this one:
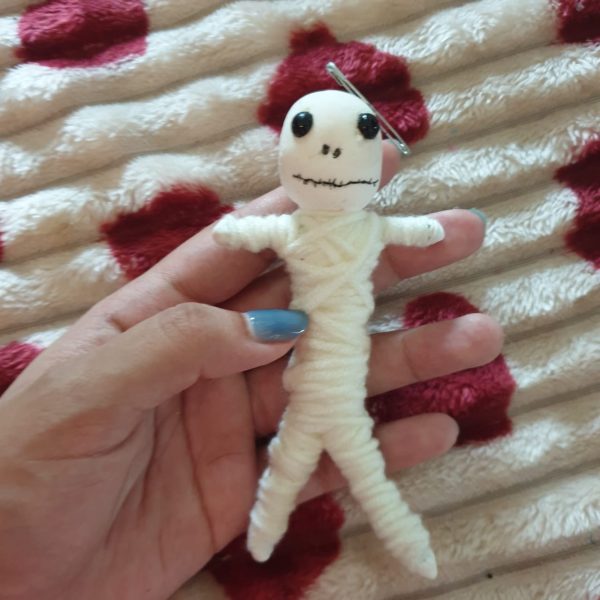
Better faceless than two-faced, you know.
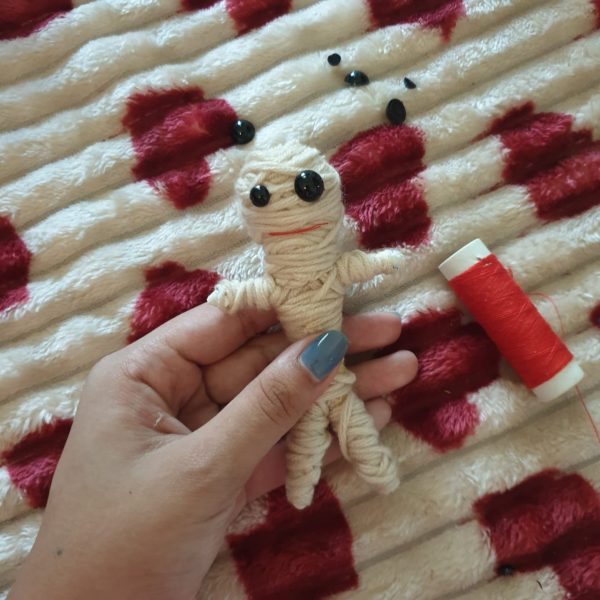
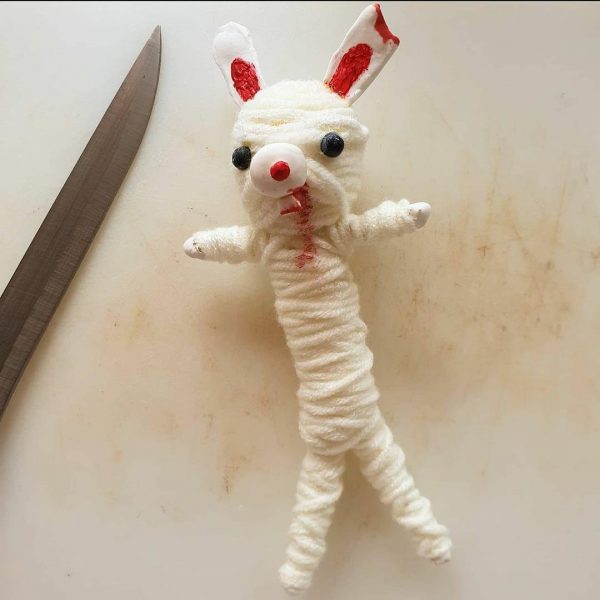
If your doll does have a face, though, your end result should look something like this:
And now for the best part…
Decoration!
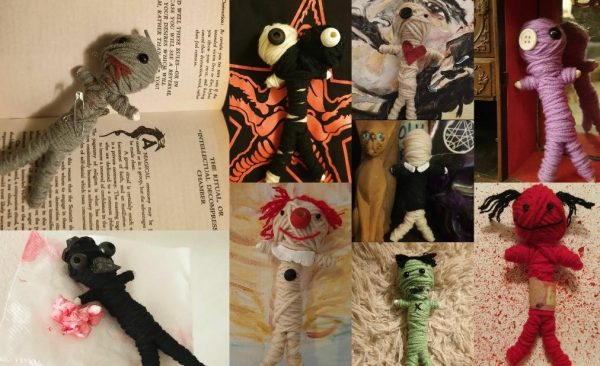
I don’t know what your ex looks like, so I’ll just show you a few random design options you can go for. The possibilities are endless, truly.
For a basic doll, generally, uneven eyes are best, or even one-eyed dolls with a cross stitched onto the empty socket.
If you’re into stitching, you might as well go ahead and stitch a mouth into your doll too, otherwise, glue works just fine.
Maybe add an injury or two?

Have fun with it! Clothes can be added using other colours of yarn, wrapped around the doll, over the original skin. You could also cut a few locks of yarn and glue them to the scalp as hair if you’d like.
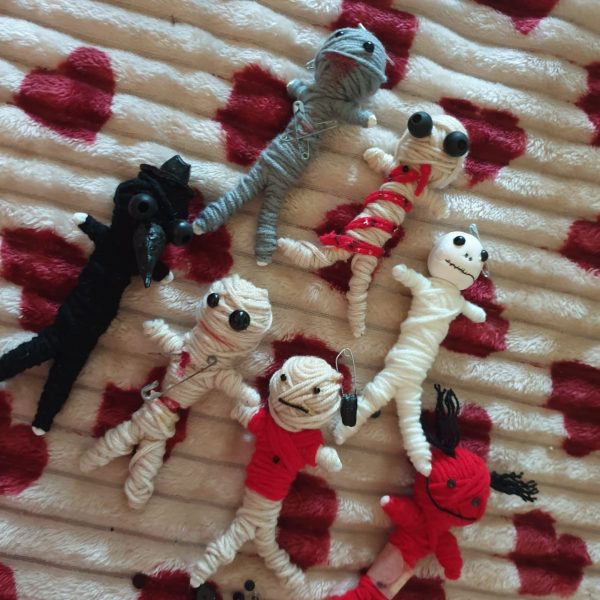
Paper clay does wonders if you’re going for more complex looks, as you can easily mould them into hats, beaks, horns, etc. Once dried, they turn sturdy, light and foam-like, not adding too much to the weight of your doll like modelling clay would. Plus, it’s paint-friendly.

For more creative news...

Catch RESORT, TY:DEL & Other Rising Local Indie Acts at PERHIMPUNAN This August
This concert will feature an eclectic assembly of five promising artists from the Klang Valley!

Are Malaysians Really Swallowing Balloons To Shed Pounds?
The procedure requires patients to have a body mass index (BMI) between 27 and 50, and be willing to commit to long-term lifestyle changes.
All Eyes Are on “Bohemian Second Son” Benedict in ‘Bridgerton’ Season 4
‘Bridgerton’ Season 4 sees Benedict Bridgerton as the focal point of the marriage mart as he searches for a mysterious woman called the “Lady in Silver”.
BMTH & BABYMETAL Will Bring ‘Karate’ Moves & ‘Doomed’ Beats To M’sia Soon!
Think you’re ready to witness the once-in-a-lifetime combination of BABYMETAL’s kawaii charm and Bring Me The Horizon’s iconic hardcore intensity?
keshi To Perform at Axiata Arena in February 2025 For His ‘REQUIEM WORLD TOUR’
The tour is to promote keshi’s upcoming sophomore album, ‘Requiem’, which will be released on 13 September.
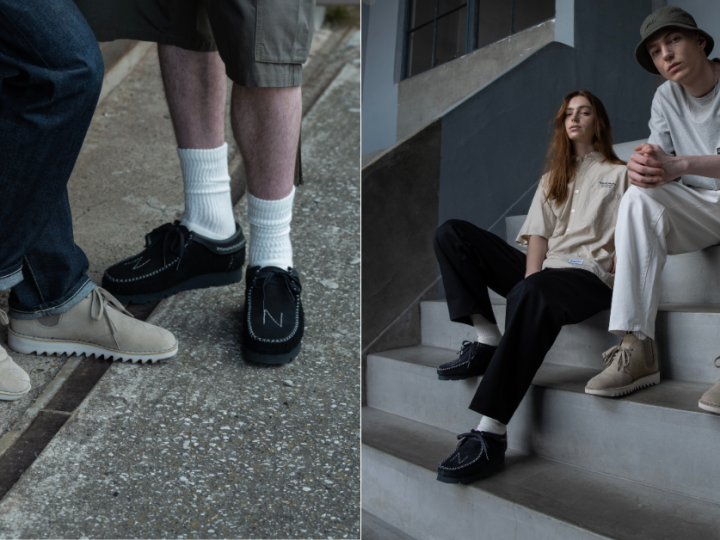
NEIGHBORHOOD & Clarks Originals Team Up Again for Two Iconic Silhouettes
Marking their third collaboration, NEIGHBORHOOD and Clarks Originals bring us some more goodness with a reinterpretation of two iconic shoe silhouettes.

Google’s New Advertising Revenue Lab Malaysia Is Set To Accelerate Digital News
The comprehensive program is designed to empower small and medium-sized news publishers in Malaysia and equip local newsrooms with the tools and knowledge to thrive in the evolving media landscape.
Maatjet Expresses His Passion, Identity & Artistic Dreams in Solo Album ‘JIKA TAKDIR’
‘JIKA TAKDIR’ is an album that helps listeners understand who maatjet is, not just as an artist but also as a person who has worked hard to craft his work.
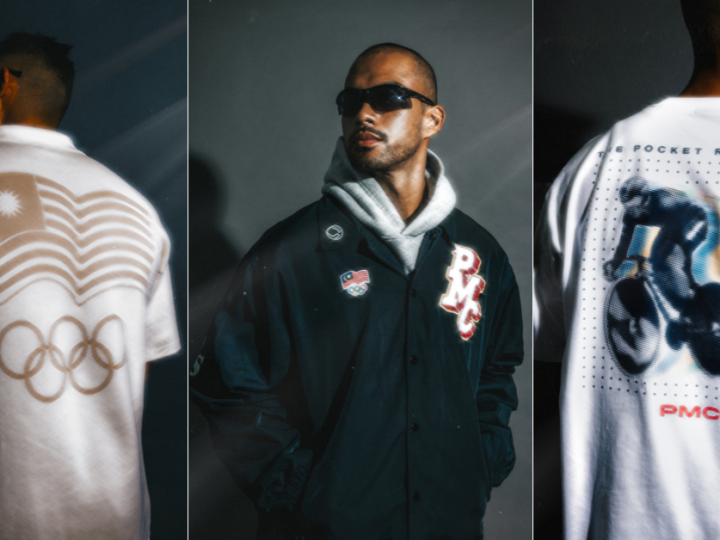
PMC’s ‘Malaysian Pride’ Collection Is Just the Drip You Need for Paris 2024
Malaysian’s very own Pestle & Mortar Clothing has linked up with the Olympic Council of Malaysia for their ‘Malaysian Pride’ collection, releasing eight exclusive items that pay tribute to and celebrate our Malaysian Olympians.
Confessions Of A (Tragically Mistaken) Novice Griever
I know pillows are still damp, tissue boxes depleted. What I didn’t anticipate is questioning whether shedding tears of my own would render me a fraud.